
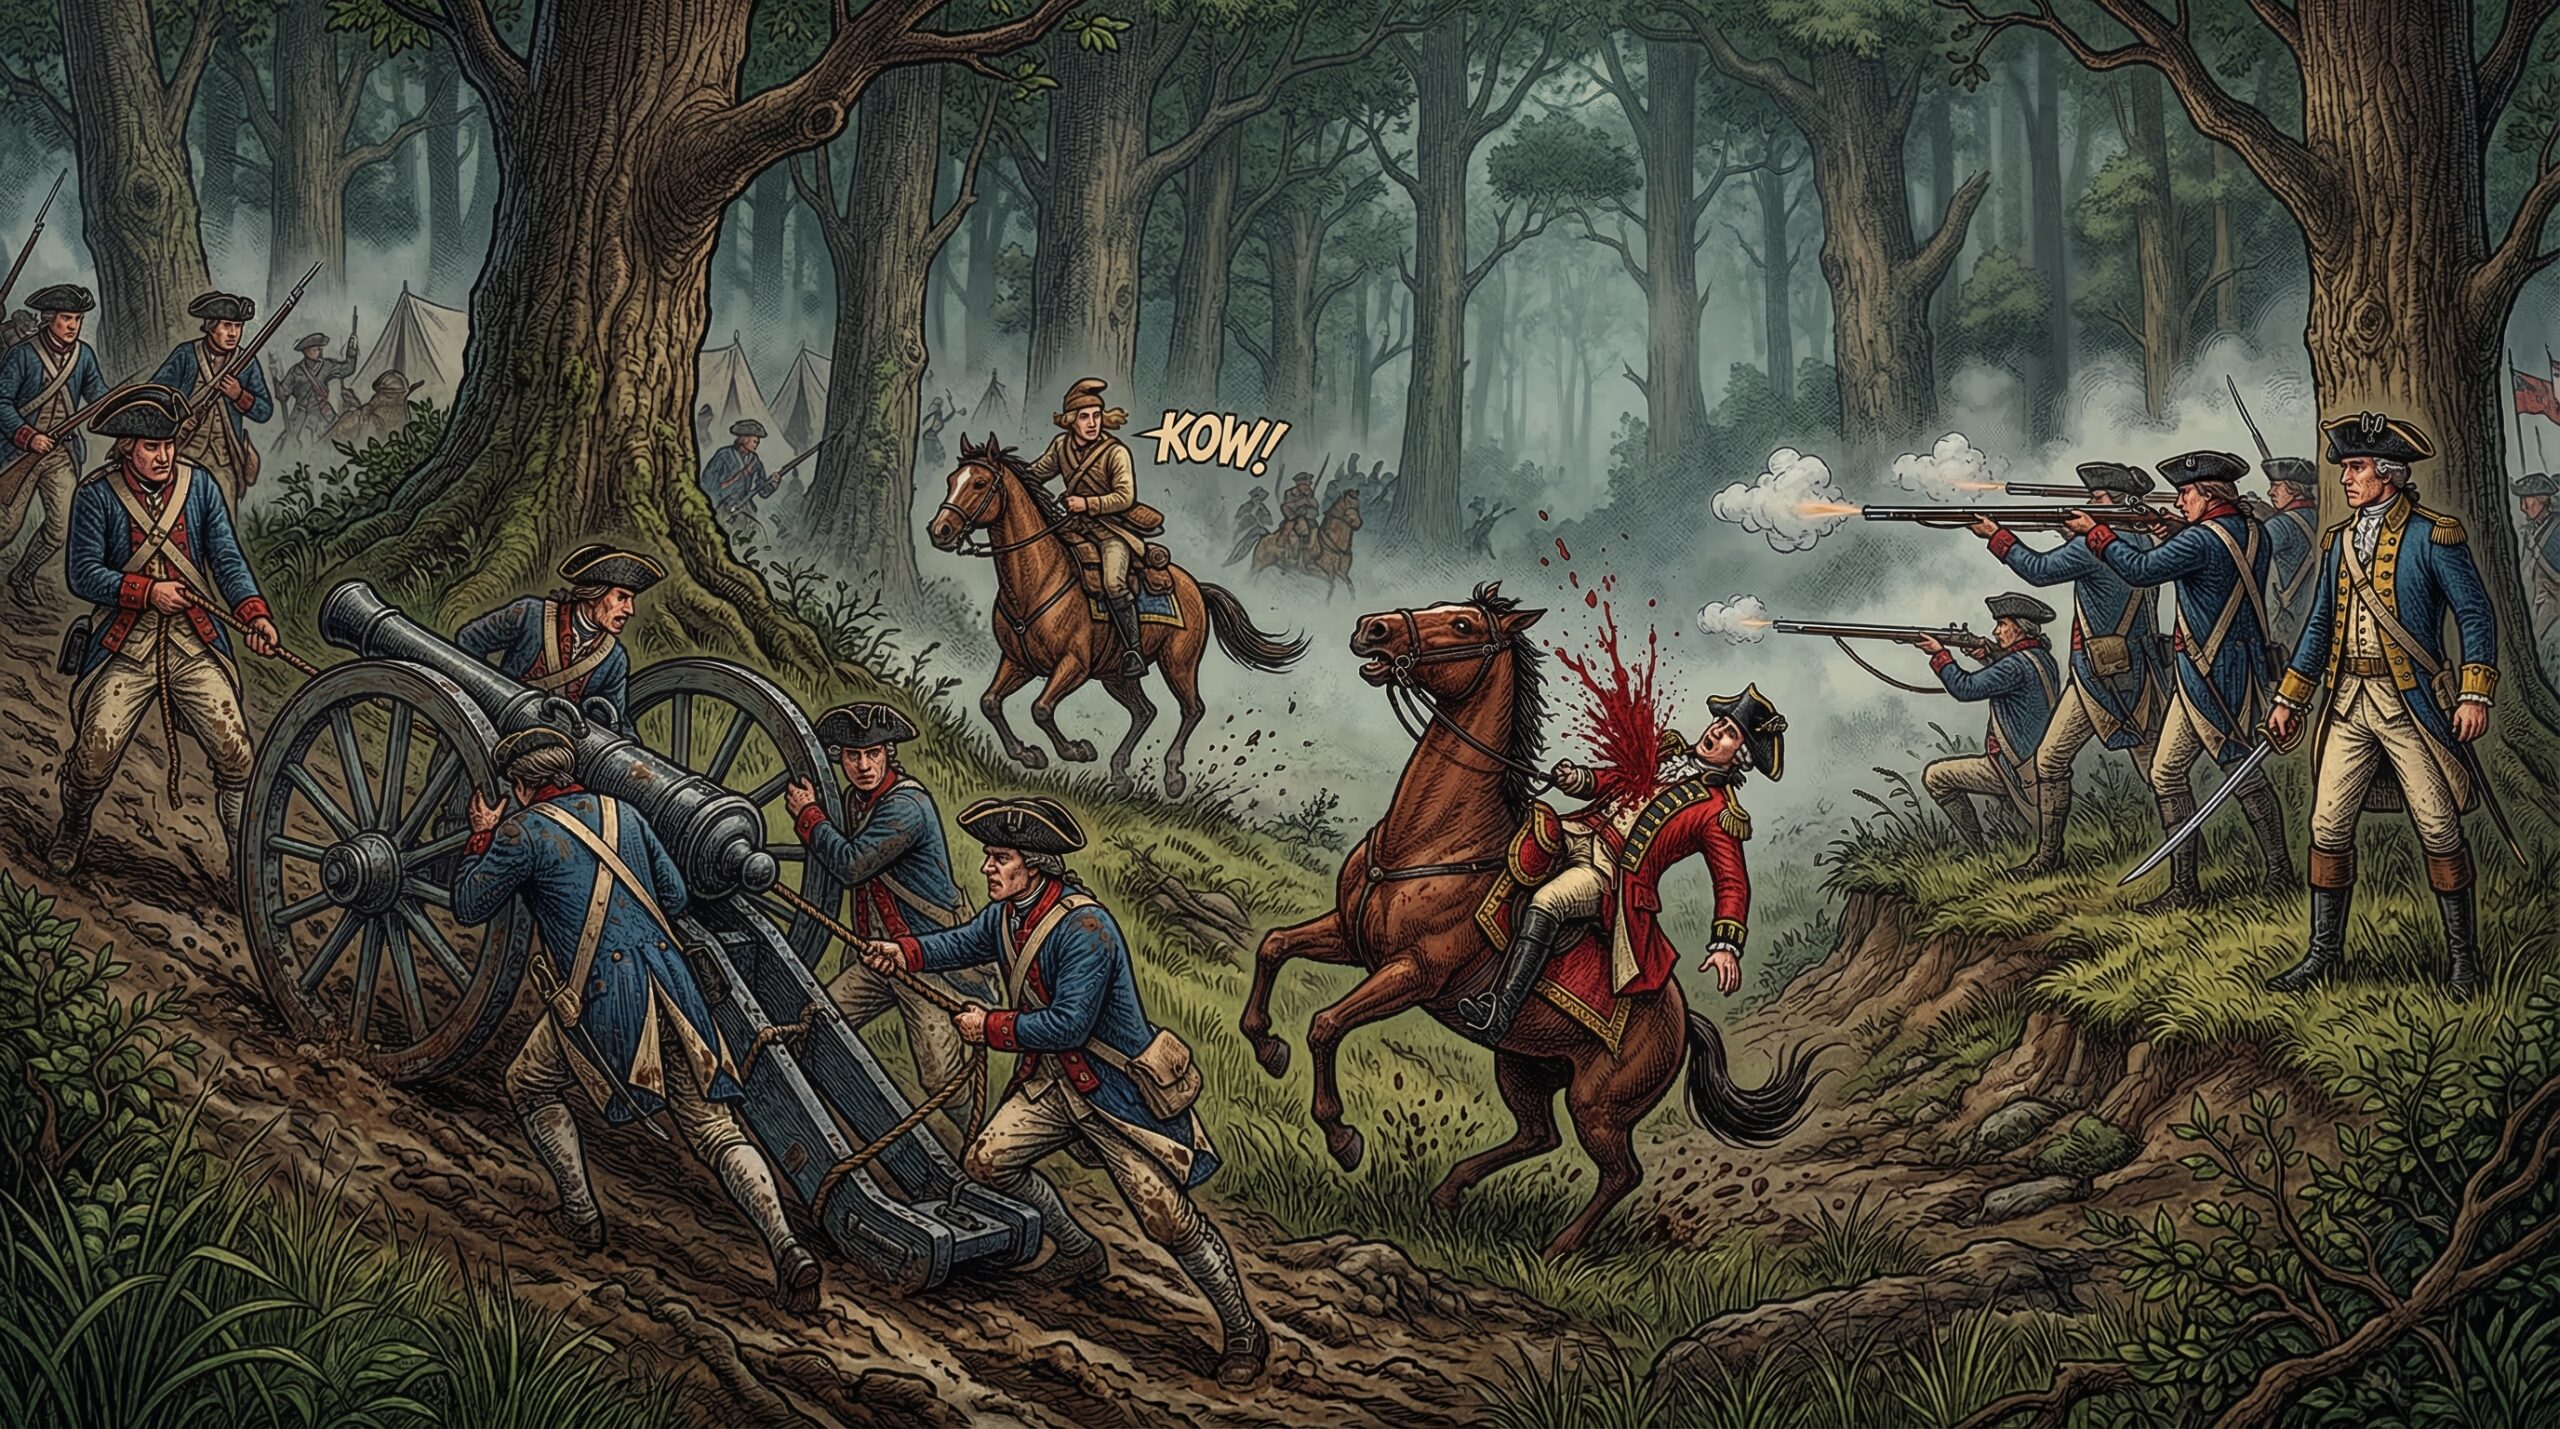
Few images capture military failure quite like the illustrations depicting General Edward Braddock’s catastrophic 1755 defeat in the Pennsylvania wilderness. Known broadly as Braddock’s Blunders drawing, this historical illustration is more than a visual record—it’s a window into one of the most pivotal and instructive moments in early American military history.
The Battle of the Monongahela was a turning point. It exposed the limitations of European-style warfare in the American frontier, influenced a young George Washington, and set the stage for the broader conflict that would reshape North America. The drawings and illustrations that emerged from this event have helped generations of students, historians, and artists understand what went wrong—and why it still matters.
This post unpacks the story behind Braddock’s Blunders drawing: what it shows, what it means, and why it remains an important piece of historical and educational storytelling.
What Is Braddock’s Blunders Drawing?
The Illustration Explained
Braddock’s Blunders drawing refers to a collection of historical illustrations and satirical artwork depicting the disastrous defeat of British General Edward Braddock during the French and Indian War. Some versions are formal battle depictions, showing the chaos of ambush in dense woodland. Others lean toward political satire, emphasizing the general’s arrogance and poor judgment.
The most commonly referenced versions show:
- British soldiers marching in tight formation through forested terrain
- French and Native American forces attacking from concealed positions
- A sense of disorder and panic among the British ranks
- General Braddock himself, often shown as the central figure of failure
The illustrations vary in style and intent, but they share a common message: a rigid, overconfident commander ignored local knowledge and paid a devastating price.
What Historical Event Does It Represent?
The drawing represents the Battle of the Monongahela, fought on July 9, 1755. British forces under Braddock were ambushed near present-day Pittsburgh, Pennsylvania, while attempting to capture Fort Duquesne from the French. The result was one of the worst British military defeats of the 18th century.
The drawing’s power lies in its ability to communicate this failure instantly. A viewer doesn’t need to read a history textbook to understand that something went terribly wrong.
Historical Background: Who Was Edward Braddock?
A Soldier of the Old World
General Edward Braddock was a decorated British officer with decades of experience in European warfare. He arrived in the American colonies in 1755 with a clear mission: push the French out of the Ohio Valley and secure British dominance in the region.
Braddock was known for:
- Strict discipline and adherence to formal military tactics
- Confidence—some said overconfidence—in the superiority of British forces
- Dismissiveness toward colonial soldiers and Native American allies
- A reluctance to adapt his strategies to unfamiliar terrain
He was, in many ways, a product of a military tradition that simply hadn’t encountered anything like the American frontier.
The French and Indian War
The French and Indian War (1754–1763) was the North American front of the larger Seven Years’ War. It was a conflict between Britain and France, with various Native American nations allied on both sides.
Control of the Ohio Valley was central to the dispute. The French had established Fort Duquesne at the confluence of the Allegheny and Monongahela rivers—a strategically vital location. Braddock’s mission was to take it.
The Battle of the Monongahela
On July 9, 1755, Braddock led roughly 1,400 British regulars and colonial troops toward Fort Duquesne. Just miles from their destination, they were ambushed by a combined French and Native American force of around 900 men.
The French and their allies used the forest expertly. They attacked from behind trees and ridges, invisible to the British soldiers who stood in neat formations in the open. The result was devastating:
- Braddock suffered around 900 casualties out of 1,400 men
- Braddock himself was mortally wounded and died four days later
- The British were forced into a chaotic retreat
- A young Colonel George Washington, serving as an aide, helped organize the survivors
It remains one of the most studied military defeats in American history.
The Meaning Behind Braddock’s Blunders Drawing
What the Illustration Tries to Show
Braddock’s Blunders drawing doesn’t just depict a battle—it delivers a verdict. The illustrations highlight the central irony of the engagement: a larger, better-equipped force was undone by its own inflexibility.
The visual language is deliberate. Tight British formations suggest rigidity. The surrounding forest suggests danger and the unknown. The attacking forces, barely visible among the trees, represent an enemy that understood the terrain in ways Braddock refused to.
The Strategic Mistakes
Historians and artists alike have focused on several key errors that the drawing implicitly or explicitly captures:
- Ignoring local intelligence: Braddock dismissed warnings from Native American scouts and colonial advisors about ambush tactics
- Maintaining rigid formations: European line tactics were deadly in open fields but suicidal in dense woodland
- Underestimating the enemy: French and Native American forces were experienced in guerrilla warfare and knew the terrain intimately
- Lack of scouting: Braddock’s advance party failed to detect the ambush before it was too late
These weren’t just tactical errors. They reflected a broader cultural blindness—an assumption that European methods were inherently superior to anything encountered in the colonies.
Lessons Historians Draw From the Event
Braddock’s defeat became a case study in military adaptability. It taught later commanders—Washington among them—that effective warfare requires flexibility, local knowledge, and respect for the environment.
The broader lesson: institutional confidence, without situational awareness, is a liability.

Artistic Style and Interpretation
Visual Elements of the Drawing
Historical battle illustrations from the 18th and 19th centuries followed certain conventions. Braddock’s Blunders drawing generally includes:
- Dramatic contrast: Light and shadow used to emphasize chaos versus order
- Compositional imbalance: British forces are often shown in the foreground, exposed; their attackers are hidden or on the margins
- Symbolic figures: Braddock himself is frequently depicted prominently, reinforcing his role as the central cause of failure
- Dense forest backgrounds: The trees aren’t just setting—they’re a character, representing the wilderness that swallowed Braddock’s ambitions
How Artists Depict Historical Battles
Historical battle art serves a dual purpose: documentation and interpretation. Artists who depicted Braddock’s defeat weren’t neutral observers. Many were working from written accounts, not firsthand experience, and they brought their own assumptions and biases to the work.
Some illustrations lean sympathetic—showing Braddock as a tragic figure brought down by circumstance. Others are openly satirical, mocking the general’s arrogance. This range of interpretation is part of what makes Braddock’s Blunders drawing such a rich subject for study.
Symbolism in Historical Illustrations
Symbolism plays a key role in how these images communicate. Common symbolic elements include:
- Fallen officers: Representing failed leadership
- Retreating soldiers: Symbolizing national humiliation
- Native American figures in shadow: Reflecting both the threat they posed and, more troublingly, the cultural biases of the artists
- Open ground versus dense trees: A visual metaphor for the difference between European certainty and American unpredictability
Reading these symbols critically is part of what makes historical art analysis so valuable.
Educational Importance of Braddock’s Blunders Drawing
Using Historical Drawings in Education
Visual history has always been a powerful teaching tool. Braddock’s Blunders drawing appears in educational contexts ranging from middle school history classes to university-level military strategy courses.
The reasons are practical:
- Accessibility: A drawing conveys the essence of an event faster than paragraphs of text
- Engagement: Students respond to visuals in ways that written descriptions alone can’t always achieve
- Critical thinking: Analyzing an illustration for bias, symbolism, and accuracy develops media literacy skills
How Illustrations Help People Understand History
There’s a reason historians say “a picture is worth a thousand words.” Braddock’s Blunders drawing makes abstract military concepts—like formation tactics and ambush strategy—immediately visible and understandable.
For students encountering the French and Indian War for the first time, the drawing provides an anchor. It gives the event a visual identity that makes the written history easier to absorb and remember.
The Role of Art in Historical Storytelling
Art doesn’t just record history—it shapes how history is remembered. The illustrations of Braddock’s defeat helped cement a particular narrative: that European arrogance met its match in the American wilderness.
This narrative influenced how American colonists saw themselves in relation to Britain. It planted seeds of independence, competence, and self-reliance that would grow into something much larger in the decades that followed.
Frequently Asked Questions
Who was General Edward Braddock?
General Edward Braddock was a British military commander who led an ill-fated expedition to capture Fort Duquesne from the French in 1755. A veteran of European warfare, he was known for his strict adherence to traditional tactics and his dismissiveness toward colonial and Native American advisors. He was mortally wounded during the Battle of the Monongahela and died on July 13, 1755.
What happened at the Battle of the Monongahela?
The Battle of the Monongahela took place on July 9, 1755, near present-day Pittsburgh, Pennsylvania. A British and colonial force under General Braddock was ambushed by French and Native American troops while advancing on Fort Duquesne. The British suffered roughly 900 casualties out of 1,400 men. The defeat was largely attributed to Braddock’s insistence on using European formation tactics in heavily forested terrain.
Why is Braddock’s defeat significant in American history?
Braddock’s defeat is significant for several reasons. It demonstrated the limitations of European military doctrine in the American wilderness, boosted French confidence in the early stages of the French and Indian War, and gave George Washington his first major experience of battlefield leadership under fire. Many historians view the battle as an early step in the cultural and military divergence between the American colonies and Britain.
What does Braddock’s Blunders drawing represent?
Braddock’s Blunders drawing represents the catastrophic British defeat at the Battle of the Monongahela. The illustrations capture the strategic errors Braddock made—particularly his refusal to adapt European tactics to the forested American frontier. The drawings serve both as historical documentation and as a form of artistic commentary on military arrogance and the consequences of ignoring local knowledge.
Why Braddock’s Story Refuses to Fade
Braddock’s Blunders drawing endures because it captures something universal: the cost of refusing to adapt. The Battle of the Monongahela wasn’t just a military defeat—it was a collision between rigid certainty and a reality that didn’t care about precedent.
The illustrations that emerged from this event gave the story a face, a form, and a lasting resonance. They helped turn a single disastrous afternoon in the Pennsylvania wilderness into a lesson that echoes through military history, political thought, and American identity.
For educators, historians, and anyone curious about the roots of American history, Braddock’s Blunders drawing is a compelling starting point. It raises questions that remain relevant: What happens when confidence outpaces competence? And what does it cost when those in command refuse to listen?